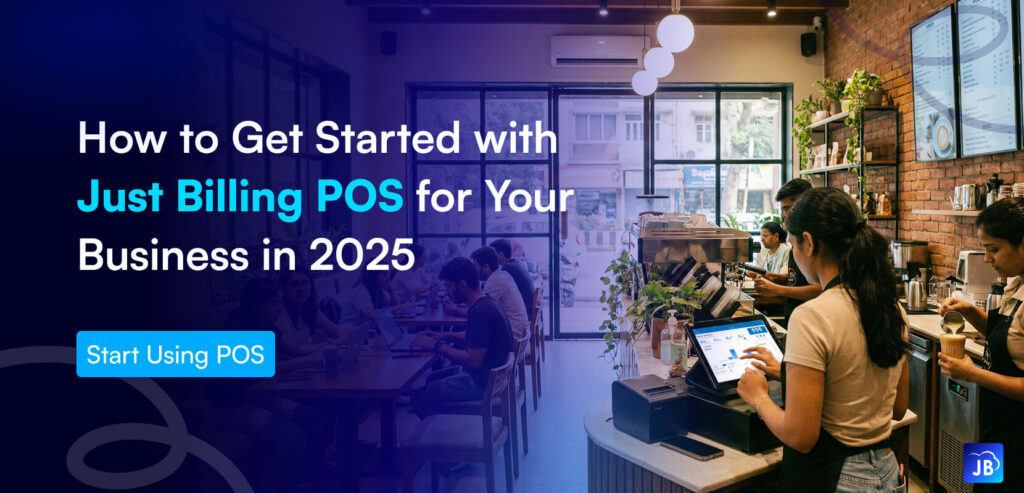
Before diving into using Just Billing POS, it’s important to determine what specific needs your business has when it comes to inventory management. This will help you customize the system to fit your unique requirements and ensure that it works seamlessly for your business.
How to Get Started with Just Billing POS: Beginner Guide

If you are looking to streamline your inventory management process and improve the efficiency of your business, Just Billing POS is a powerful solution that can help. However, getting started with any new system may seem daunting at first. That’s why we have put together this step-by-step guide to help you set up Just Billing POS for your business.
Step 1: Determine Your Business Needs
Step 2: Set Up Your Inventory
The first thing you need to do is input all of your existing inventory into the Just Billing POS system. This includes product names, prices, quantities, and any other relevant information. You can also categorize items by department or type to make it easier to manage and track.
Step 3: Add Employees
Next, add employees who will be working with the Just Billing POS system. This allows you to track sales by employee and assign different access levels depending on their role in the business.
Step 4: Configure Payment Methods
Just Billing POS offers various payment methods such as cash, credit card, gift cards, and more. You can easily set up these payment options according to your preferences and enable/disable them as needed.
Step 5: Customize Receipts
Personalized receipts not only give a professional touch but also provide valuable information like order details and store policies for customers. With Just Billing POS, you can customize receipts with logos, contact information or promotional messages.
Step 6: Train Employees
Now that everything is set up on the back end of the system; it’s time to train employees on how to use Just Billing POS effectively. Familiarize them with all features like processing transactions, applying discounts/coupons or generating sales reports.
Step 7: Start Using Just Billing POS
Congratulations, you’re all set to start using Just Billing POS for your business! With the system in place, you can easily track and manage inventory levels, generate sales reports and make informed business decisions based on real-time data.
Getting started with Just Billing POS may seem overwhelming at first but by following these simple steps, you can seamlessly integrate this powerful tool into your business operations. Ultimately, it will help save time and reduce errors in managing your inventory while improving the overall efficiency of your business.
Search for article
Popular Posts
Download Our App
Share the Post
Retail Billing Software
Super market, Grocery, Electronics, Gift Shops & Stationery
Restaurant Billing Software
Take away, Self service, Ice cream parlor, Coffee shop, Bakery
POS for Service Business
Accountant, Lawyer, Consultant, Photographer
Join Our Newsletter
Receive the latest blog posts, industry insights & exclusive Just Billing updates directly to your inbox.


